How I Made A Polished Game In 36 Hours
I DID IT!
I actually pulled it off. After my third year of entering the GMTK Game Jam, I managed to publish a complete game. And I have tips that I can share that helped me do it. Now I'm no expert in game development, but I'm also no stranger to adopting the wisdom of experts. It was the useful tips from Mark Brown himself and other developers from past years that helped me be prepared to make a game this year. So let's go over what I did.
Part 1: Concepts
Obviously the first thing you want to do is create a concept for what you want your game to be. The important thing is to actually make sure the concept is good. If the concept of your game is bad, then no amount of development and polish will make it great. So spend as much time as necessary to make sure your core concept is a good one.
I had come up with four ideas after I heard the theme: You can't control when you shoot, you can't control when you jump, you collect items for a recipe but they all auto craft, or a game where you move in a random direction at set intervals. It probably goes without saying that I didn't really have any great ideas. Just one decent idea. I spent a lot of time thinking of new ones and trying to get ideas from other people, but alas, the first idea was the best one I had:
"A robot that shoots a dangerous ball of light at set intervals. Activate light bulbs, destroy enemies and certain blocks, avoid innocent people, and use mirrors to your advantage."
Part 2: Proper Planning
Before I even started programming, I made sure I had a plan in mind. The first thing that was on my mind was to make the scope of the game small. 48 hours isn't a lot of time, and it's better to make something short and sweet than long and unfinished. The other thing I planned for was to finish the game in 24 hours. I had heard that it was good practise to have day 1 for making the game and day 2 for polishing the game. Of course, we always fall short of our expectations, and I was okay with that. Planning to finish in 24 hours would mean that I'd finish early, even if I failed to meet the mark.
So I decided that I wanted 10-15 levels in this puzzle game, but I would settle for 5 levels if it came to that. With a proper scope in mind, I started working on the game itself.
Part 3: The Rough Game
I put together a bunch of half baked sprites that would serve as placeholders for the real ones. At this beginning stage, I just wanted to get the core gameplay right. The first mistake I made was how I coded movement. First of all, you were meant to move with every key press, but I made it so that you could hold down movement keys to slide around the map. A worse side effect of this was Qbi moving multiple squares with a short press of a button. Being that I never actually completed a fully functioning game before, I usually used whatever janky solution sort of worked, and this was a product of my lack of knowledge. But it's fixed in the full release (https://pepperfaced.itch.io/qbi). Because I used to code Battle Network engines back in the day, movement wasn't very difficult.

I learned from someone else how to code it so that he can only move around his 3x3 grid. You create a invisible square that goes on each tile he can walk on. When you try to move, the game checks if there's a square there before trying to move. This makes it so that you don't get a movement animation and then end up going nowhere.
Then there was the most important part: automated shooting. I decided to control this with a timeline loop that existed separate of the player. Basically, every so often the game would call for an orb of light to be created at Qbi's position. I also had to keep track of which way Qbi was facing at all time. Every time Qbi moved up, down, left, or right, a variable called "global.qdir" would be set to -2,2,-1 or 1. But because Qbi only moves when there's a square to move to, Qbi can't turn on the spot. This was a very intentional decision from the start because it lends itself to not only more interesting puzzles, but also more compact puzzles.
Part 4: Puzzle Mechanics
The first puzzle mechanics I implemented were walls that would disappear once all the enemies on the map were killed. I called them "gates", but they have the same base sprite as the normal walls. This was something I had thought of during the concept stage so it made sense. The Triangle Gate just checks how many enemies exist and destroys itself once that number is zero. At this point I was still working with a sand box stage to test mechanics. I had noticed that the mechanic of not deciding when you shoot didn't create much of a challenge at all. This was the reason I implemented limited ammo, or the battery you see in the top right. I made the maximum number of shots 6 simply because it looked good in the sprite, which is a stupid reason but it hasn't come back to bite me (yet). With this, you'd have to think about where you were on the map at any given time and also had to be quick with your decisions. At this point I was ready to start making levels.
Part 5: I Was Ready To Start Making Levels
So I was ready to start making levels. I don't know if that was clear. This was where my game design knowledge had to come into play. And as a subscriber of GMTK on YouTube, I had picked up a few things over the years. The first level existed to teach you the basic mechanics of the game. The only thing to do is shoot the lightbulb. You start the level without the lightbulb in your line of sight so that it doesn't autocomplete, but also so that you can see for yourself that these orbs fire without you doing anything. With the max number of shots (6) you'd have time to understand this, bother to move, and shoot the only thing in the room: the lightbulb. This level was meant to teach you without any sort of tutorial the basic gameplay loop: Position yourself to shoot the lightbulb and win. At that point, I didn't plan for any tutorial text. Of course, even with text there not everybody understands the core gameplay, which is just poor communication on my part.
Level 2 was a similar sort of tutorial. There's a wall (triangle gate) between you and the lightbulb. If you don't know that you can't shoot it, it's very likely that your first shot will hit it anyway. And if not, you'll end up shooting the only other thing on the map: the enemy. Again, this is to help you teach yourself the mechanics.
The next 2 levels gave me quite the realisation: making a game with one puzzle mechanic is boring and difficult. I couldn't believe after 3 levels I exhausted my ideas. So... I went back to the drawing board.
Part 6: More Puzzle Mechanics
I had the idea of blocks that didn't exist until you hit a button, or existed until you hit a button. Now I know what you're thinking:
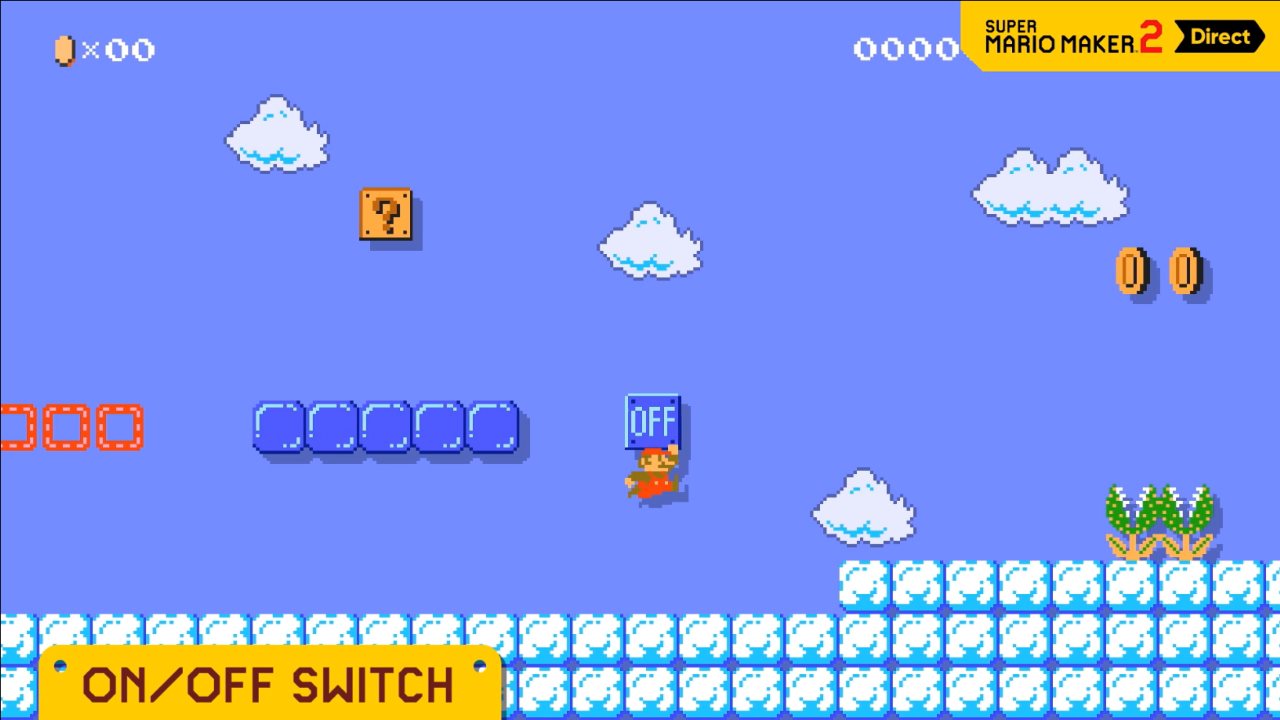
"You just made switch blocks from Mario". And to that I say well yes, but actually no. My inspiration for this were similar blocks in Crash Bandicoot games, that would only appear after to hit a block with an exclamation point on it. Though after the fact... I did realise I just made switch blocks from Mario. Though if I had bothered to take notes from Mario I would have realised I needed to make two different types of switch blocks depending on whether they start out invisible or solid. I had a headache trying to make that all within one object.
These did pose an interesting problem though: since I lay out all the blocks Qbi can walk on beforehand, how would I be able to have blocks that toggle whether or not Qbi can go through them? The answer was actually quite simple: when switch blocks turned blank: they created one of those invisible squares to grant Qbi passage. When they turned solid, they destroy any of those squares they come in contact with.
Part 7: Back To Making Levels
Level 5 is much like level 2: a wall (switch block) blocks your path to the lightbulb and there's only one thing to shoot: the switch. You learn the same way. Level 6 teaches the player about switch blocks having different states. Using both solid and invisible switch blocks shows this, and requiring the player to hit the switch twice forces the player to see that all the blocks can toggle back and forth.
Now that the player was able to experience the two mechanics separately, I could bring them together in level 7 to create an interesting puzzle. This was where the fun began. But still, something was missing.
Part 8: Even More Puzzle Mechanics
One thing I mentioned in the concept stage was mirrors. And since levels 2-4 were triangle gate levels and levels 5-7 were switch block levels, I decided that 8-10 would involve mirrors (just to be fair). The mirrors didn't have any coding themselves, I just had to make it so that the orb would either change it's direction by 90 degrees or 270 degrees depending on which direction it was coming from. This worked almost instantly with no hiccups, which surprised me to say the least. But that was the last mechanic done.
Part 9: Finishing Levels
As is customary, level 8 was a tutorial for mirrors. There's a switch block blocking the lightbulb in one direction and a switch you can't hit. The only other thing to hit is the mirror, which deflects the orb into the lightbulb. Simple way to learn about mirrors.
The next two levels were me making puzzles with all three mechanics, to show the real potential of them working together since they had been simple up until that point. And with that, I had finished with 12 hours left and uploaded the game at 3:30 AM.
Part 10: Polishing the Game
This part was right up my alley since I'm a digital artist first and a game developer second. And I will admit, I started polishing the game pretty early on, despite the fact that I told myself to do it after finishing the game. But, by the time I was ready to start making levels I put in the final sprites, since the nature of my game allows me to just drag and drop items to quickly put puzzles together (much like Mario Maker).
I wanted more than anything for this game to look good. People tend to be more forgiving of small issues if the game feels and looks good. Because I am such a fan of four colour palettes, I decided to use the misty gamebody palette I already had on my computer.

It has a very nice feel to it. The other thing I wanted to focus on was animation. Stagnant sprites are boring sprites. This influences decisions in my sprite making process:
- Every level has a slow scrolling background
- Qbi squishes when he moves
- Enemies float gently up and down
- Triangle gates and orbs have a destruction animation instead of just disappearing
- Switches flash to show that they're hit
- The "YOU WIN!" text bounces on screen instead of just flashing
- Level buttons are outlined and "pop out" when you hover your mouse over them
These are all things I did to make sure the game looked and felt alive. But the rest of the polishing actually came after I finished.
I feel that audio is just as important as animation when it comes to making the game feel good. I mean, obviously games should have sound effects, but I think they serve a purpose other than making the game sound good. There's a soft bumping sound when Qbi moves to give his movement more weight, just like the squish animation does. The level buttons you hover over make a sound to give you audio feedback as well as visual feedback. Triangle gates make a sound when they disappear so that you know it's gone even if you didn't see the animation.
There's also merit in the lack of sounds. The background music of a level stops if you die to not only let you know that there's nothing else to do, but also because it's sort of like the world stops without your character there. The same happens when you win to emphasise the "YOU WIN!" sound effect and to show that you're done with the level. Sound design and animation are very important to polish in my opinion.
Part 11: Rest
Not just after, during the jam. I know it's hard but it's necessary. You'll work much more efficiently when you're well rested and have a clear head. The jam started at 3PM my time and by 9PM I had the basic code of the game put in so I decided to take the rest of the night off. And I'm glad I did, because I could come back next morning with fresh ideas and renewed energy to put together a bunch of levels I worked on it all day with breaks inbetween until about 9PM when I hit a wall trying to code the switch blocks. I had tried 5 different things and no matter what I did, nothing would work. I was the most frustrated at that point throughout the game making process. I could have the game done before the final day came around if it wasn't for this one puzzle mechanic. And instead of banging my head against a wall about it I just decided to go to sleep to clear my head, with no plan for when I'd wake up.
Incidentally it ended up being a two hour nap. But it was long enough for me to come back with a fresh perspective. I couldn't believe I didn't think of it before, but I just googled how to toggle variables in Game Maker. That was it. All those long hours working on that game had given me tunnel vision I didn't realise was there. And so I had enough determination to go on and finish the game by 3AM, and then rest for real.
Part 12: Bonus Work
Since I had the morning and part of the afternoon to do anything else, I added extra polish to the game. I added 5 bonus levels where I didn't hold back on the difficulty. I put the GMTK Game Jam logo on the title screen. I added tutorial text to the first level so you know that you can restart the levels. I put in a custom game icon and loading screen. I had some friends play test it and find any bugs that were there. The beauty of finishing early was adding in things that weren't necessary but were nice to have.
Final Part: Lessons?
This was the first game I ever fully completed, so the experience made me really happy, I'm glad I took lessons from Mark Brown and other game developers, specifically people that participated in game jams, over the years. It also helped that I've learned a thing or two from industry experts in animation, sound design, and level design to help point me in the right direction. I think I'll have a much better workflow for future projects and quite possibly, future game jams. I hope you learned something from this like I did from the game jam!
-Pepperfaced
Leave a comment
Log in with itch.io to leave a comment.